In this tutorial we explain in six steps how to set up a connection from Project Professional 2016 (Project Online Desktop Client) to Project Online in order to be able to use a shared storage location for your Project users.
In order to use this tutorial, your access to your company's Project Online site must already be enabled for you. The screen shots in this tutorial may differ in colour from your settings due to the office design you have chosen.
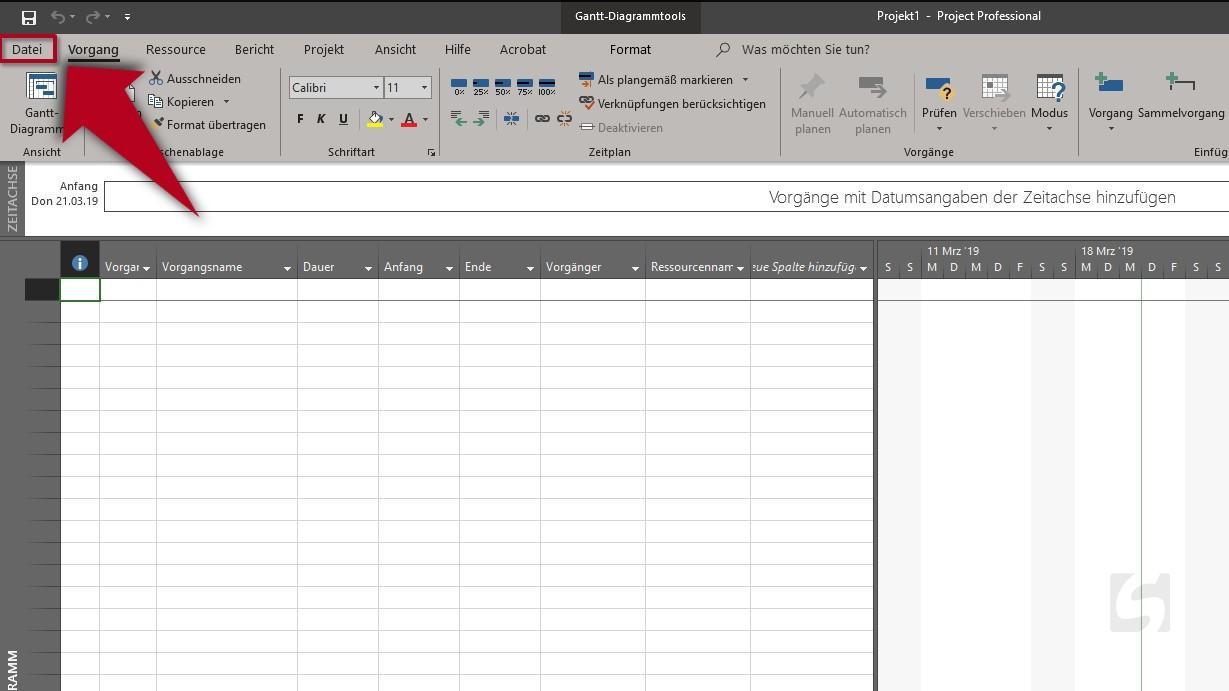
Step 1 - Open Project Professional
Open any project in Project Professional. Then CLICK on the tab File in the ribbon to open what is called the Backstage view.
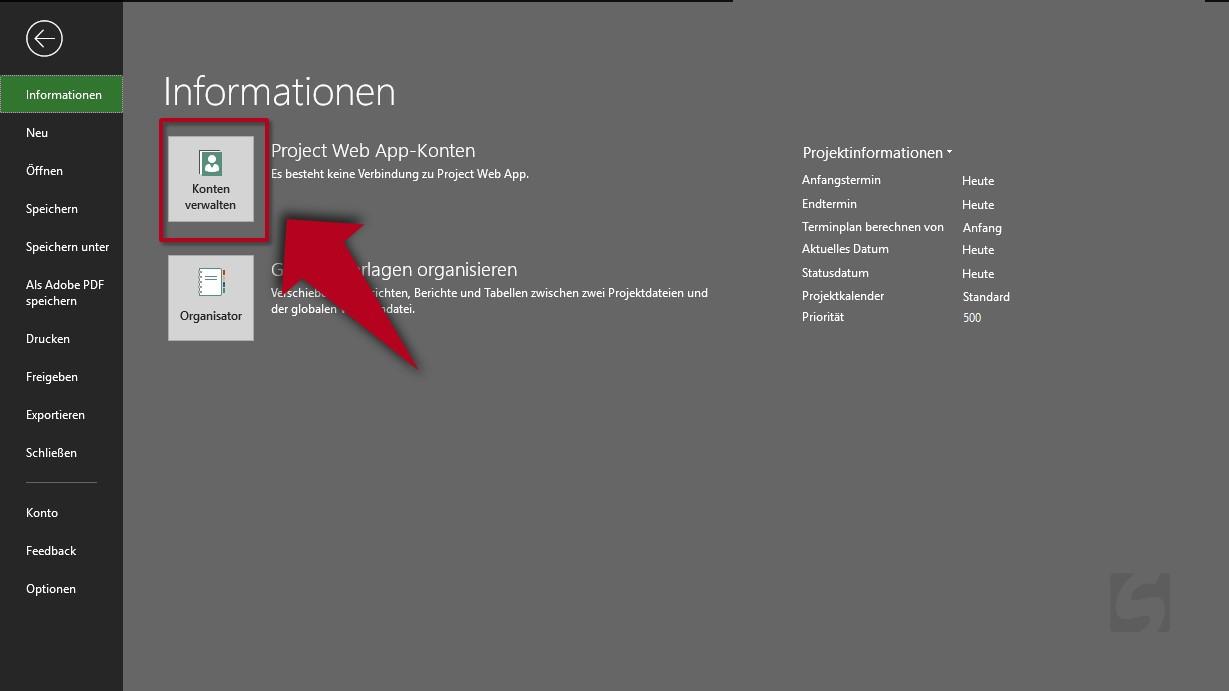
Step 2 - Change settings in the Backstage view
If not already activated, CLICK on Information to display the information about the project. Then CLICK on Manage Accounts. This will open the Project Web App Accounts window.
Step 3 - Project Web App accounts
The window shows already configured accounts, i.e. storage locations for projects. CLICK Add to set up a new location. This will open another window.

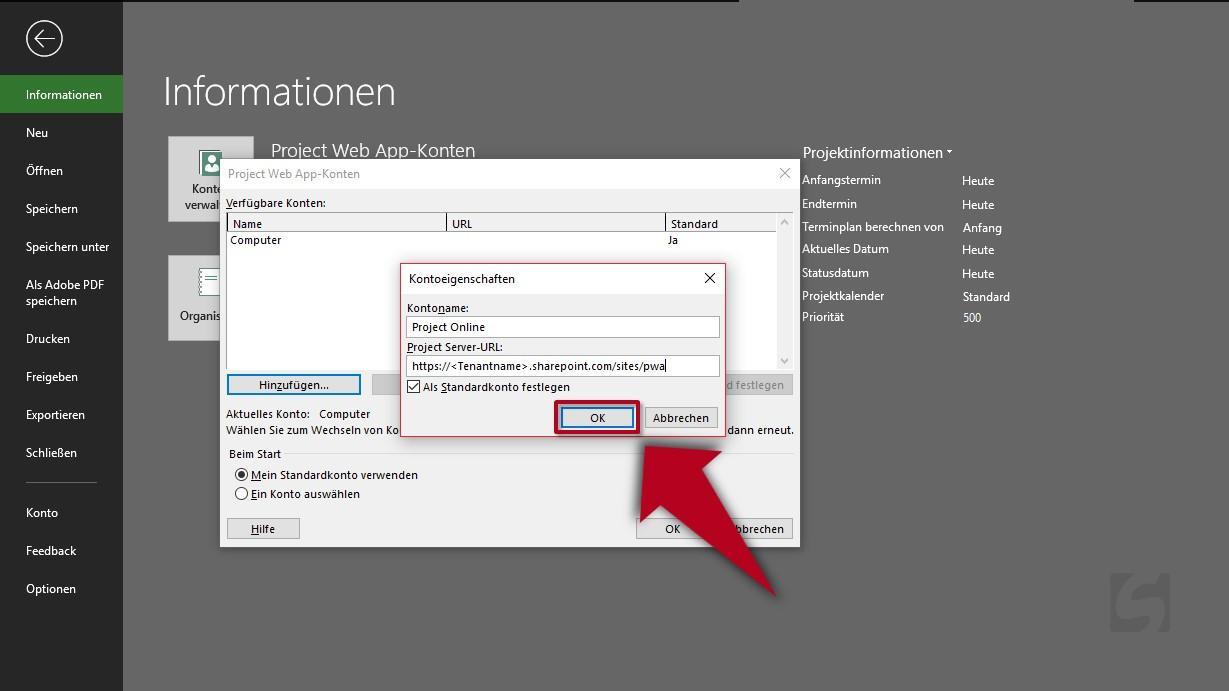
Step 4 - Set up account properties
In the Account Name field, please enter a name of your choice (e.g.: Project Online) for the new location. In the Project Server-Url field, enter the url to your Project Online page. By default, this is https://<tenantname>.sharepoint.com/sites/pwa, where <tenantname> corresponds to the sub-domain set up for your company on sharepoint.com. If you are not sure which value to enter here, log in to sharepoint.com with your company account and then look at the displayed url in your browser. Now set a HACK at Set as default account. To save the account properties, CLICK OK. This will close the window.
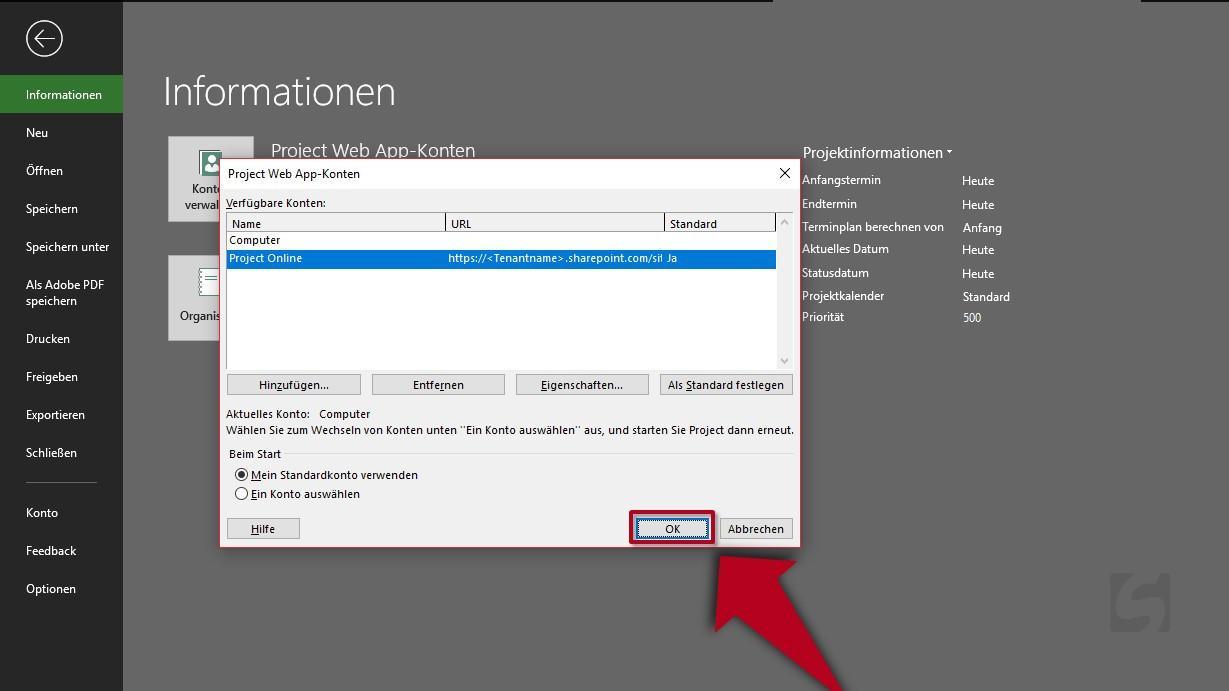
Step 5 - Add Project Web App account
Under Available Accounts you will now see your new account. CLICK Ok to close the window.
Step 6 - Restart and get started
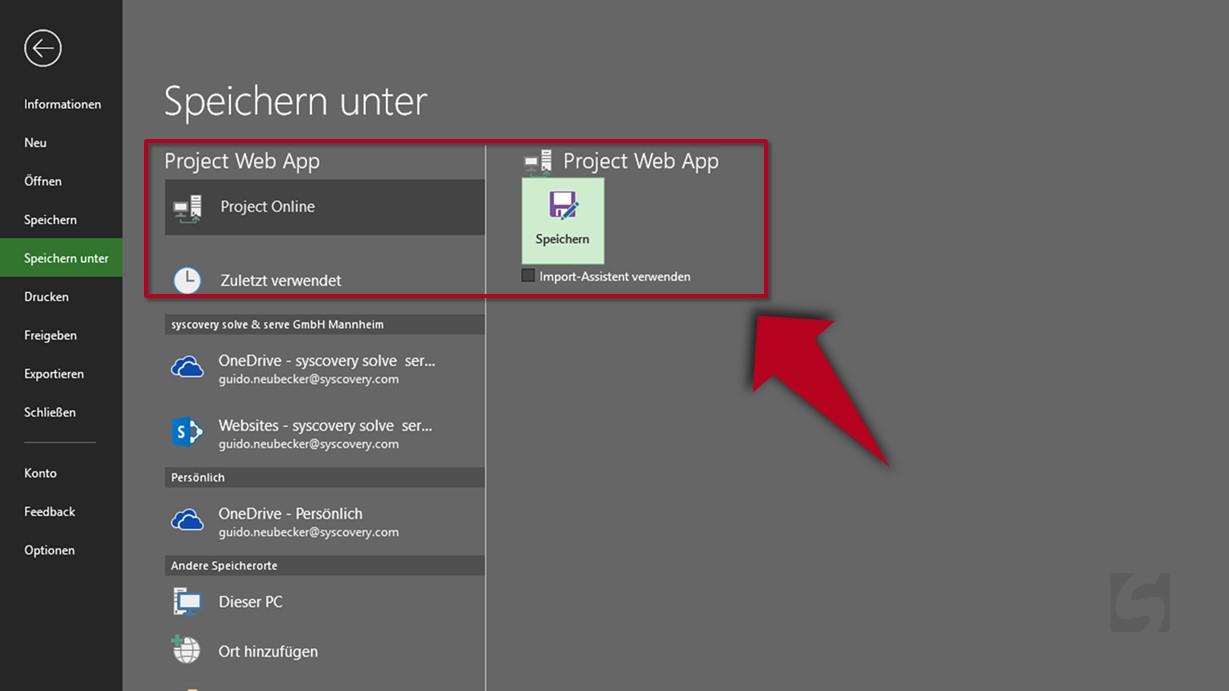
Now CLOSE Project Professional and OPEN it again. When saving a new project, you will now see your new location under Project Web App.
END
